4.12 Approving user data
The STATUS tab of the PIV applicant editing screens contains the User Data Approved and Vetting Date fields.

-
User Data Approved – if the credential profile has the Require user data to be approved option set (which is required for PIV cards) the cards can be issued only to users who have the User Data Approved flag set on their account.
This flag certifies that the applicant has been through the correct enrollment process and has been approved to receive a PIV card.
To set or unset this option, see:
-
Vetting Date – if you approve a person, the vetting date is set to the current date. Alternatively, you can set the vetting date manually using the calendar control on the Approve Person screen.
Note: Unapproving a person clears the vetting date.
For more information on the User Data Approved and Vetting Date options, see the Identity checks section in the Administration Guide.
4.12.1 Setting permissions for approving and unapproving
To allow an operator to approve or unapprove a person, you must edit their role to include the appropriate option.
To edit a role to allow changing a person's User Data Approved option:
-
In MyID Desktop, from the Configuration category, select Edit Roles.
-
Use the Show/Hide Roles option to display the role you want to work with.
-
In the People section, add the following options:
-
Approve Person – allows an operator to approve a person and set their User Data Approved status to Yes.
-
Unapprove Person – allows an operator to unapprove a person and set their User Data Approved status to No.
-
-
Click Save Changes.
For more information about editing roles, see the Roles, groups, and scope section in the Administration Guide.
4.12.2 Approving a person
To approve a person:
-
Search for a person in the MyID database, and view their details.
See section 4.1, Searching for a person for details.
You can also view a person's details from any form that contains a link to their account.
For example:
- Click the link icon
 on the Full Name field of the View Request form.
 - Click the link icon on the Owner field of the View Device form.
- Click the link icon
-
Click the Approve Person option in the button bar at the bottom of the screen.
You may have to click the ... option to see any additional available actions.
You can approve or unapprove people only if they have the PIV Applicant role.
Note: If you have the optional Adjudication module installed, you cannot approve a person who has outstanding adjudications. Process the adjudications before you attempt to approve the person's user data.
The Approve Person screen appears.
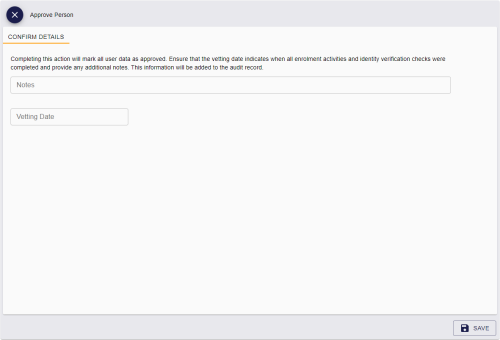
-
Type any Notes to describe why you are approving the person.
This information is added to the audit, and is visible on the HISTORY tab of the View Person screen.
-
Optionally, use the calendar control to set the Vetting Date.
If you do not specify a date, the current date is used.
-
Click SAVE.

4.12.3 Unapproving a person
To unapprove a person:
-
Search for a person in the MyID database, and view their details.
See section 4.1, Searching for a person for details.
You can also view a person's details from any form that contains a link to their account.
For example:
- Click the link icon on the Full Name field of the View Request form.
- Click the link icon on the Owner field of the View Device form.
- Click the link icon
-
Click the Unapprove Person option in the button bar at the bottom of the screen.
You may have to click the ... option to see any additional available actions.
You can approve or unapprove people only if they have the PIV Applicant role.
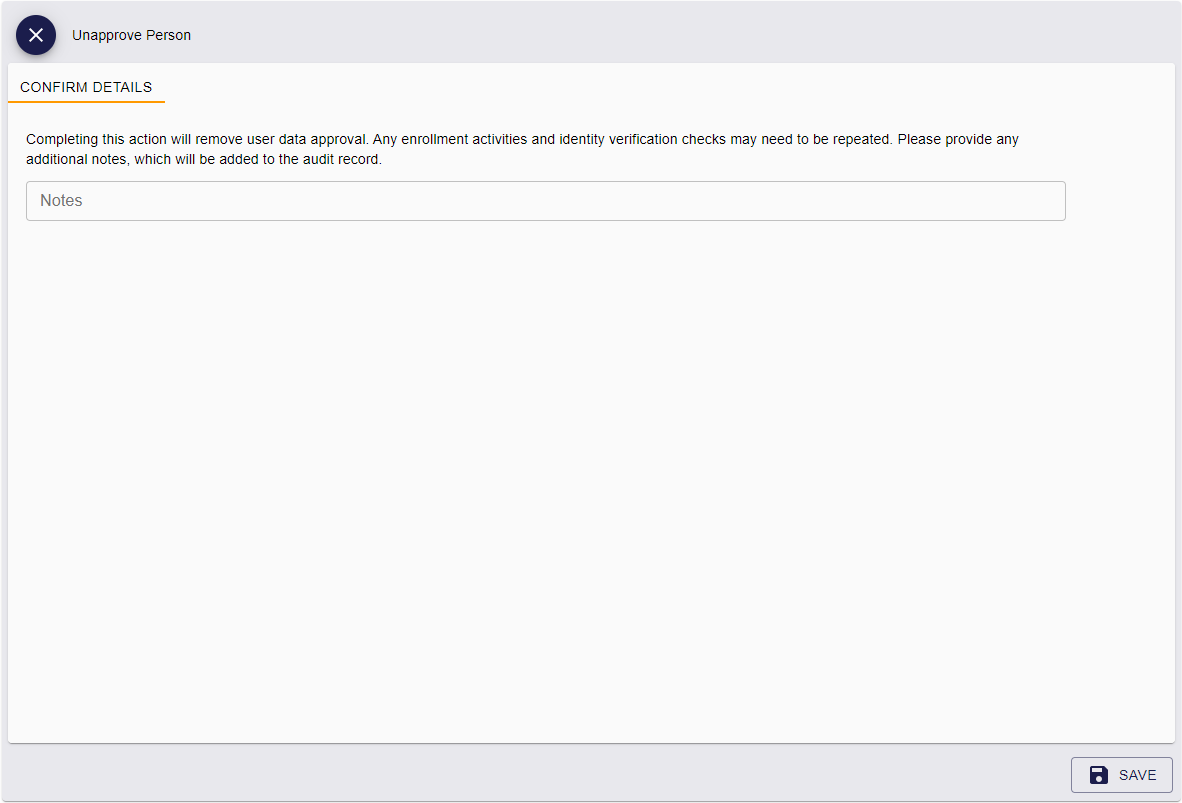
The Unapprove Person screen appears.

-
Type any Notes to describe why you are unapproving the person.
This information is added to the audit, and is visible on the HISTORY tab of the View Person screen.
-
Click SAVE.
The person's User Data Approved option is set to No, and their Vetting Date is removed.